I have a special treat for you all today :) It is my pleasure to introduce you to one of my bloggy friends! This is Kristen from Ladybug Blessings. Take it away Kristen!
Hi everyone! My name is Kristen and I blog over at a little place called Ladybug Blessings. I am very excited to be sharing my Towel Apron with y'all today!
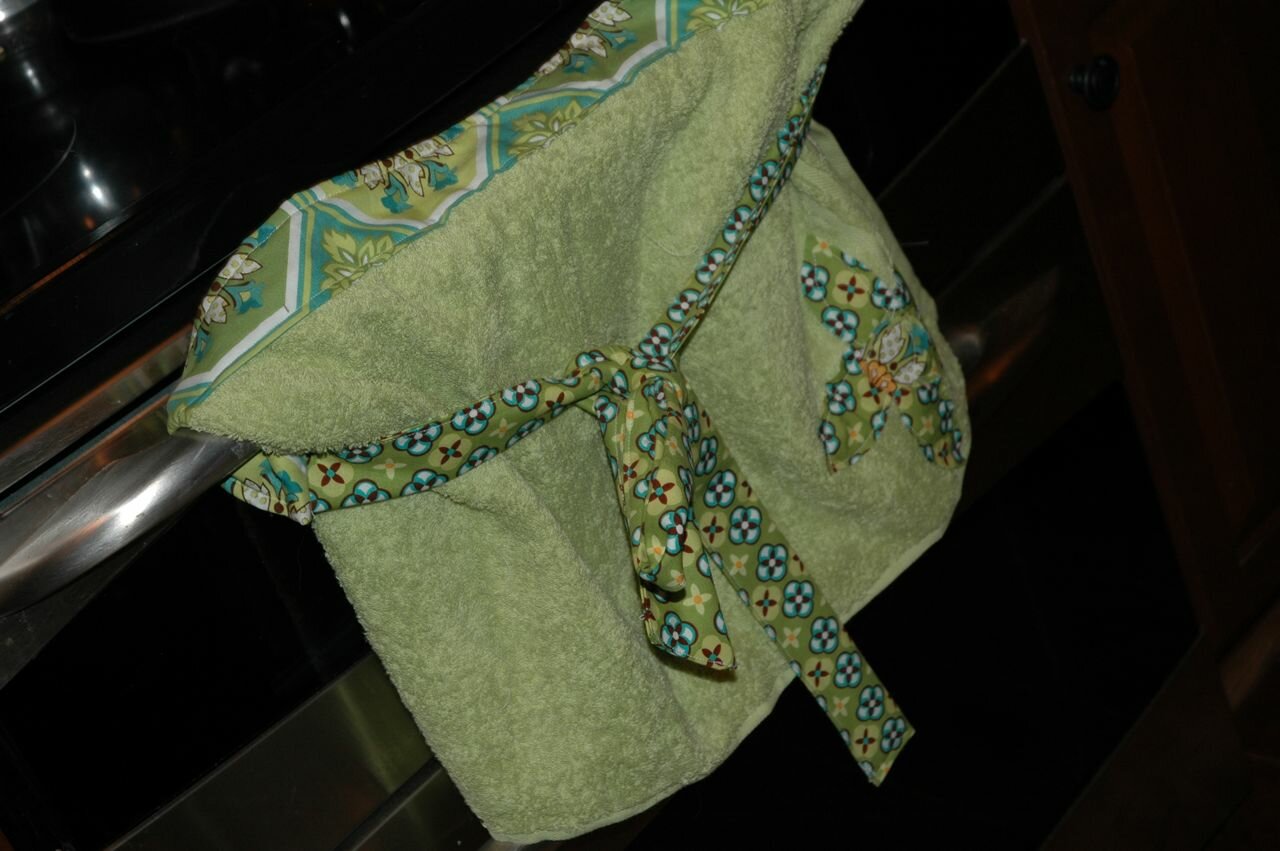
So this has been on my "to do list" since December and I have just now gotten around to it! I love aprons and think half aprons are adorable. Easy to wipe your hands on. But I feel guilty wiping my hands on my pretty fabric (A little OCD, I know!) Solution? A hand towel apron! This way I am really wiping my hands on the towel but it looks pretty :)
Supplies
Hi everyone! My name is Kristen and I blog over at a little place called Ladybug Blessings. I am very excited to be sharing my Towel Apron with y'all today!

So this has been on my "to do list" since December and I have just now gotten around to it! I love aprons and think half aprons are adorable. Easy to wipe your hands on. But I feel guilty wiping my hands on my pretty fabric (A little OCD, I know!) Solution? A hand towel apron! This way I am really wiping my hands on the towel but it looks pretty :)
Supplies
- Hand Towel
- Two long fabric strips (for ties)
- Fabric strip for the middle. A little bit longer than the length of the towel.
- Fabric to embellish with
Cut your fabric into strips. You can do this in a few different ways. Because I didn't have one long strip of fabric I cut two side pieces (7" high and 33" long) and one middle piece (length of towel and about 2" high). But you could use one long piece if you wanted to.
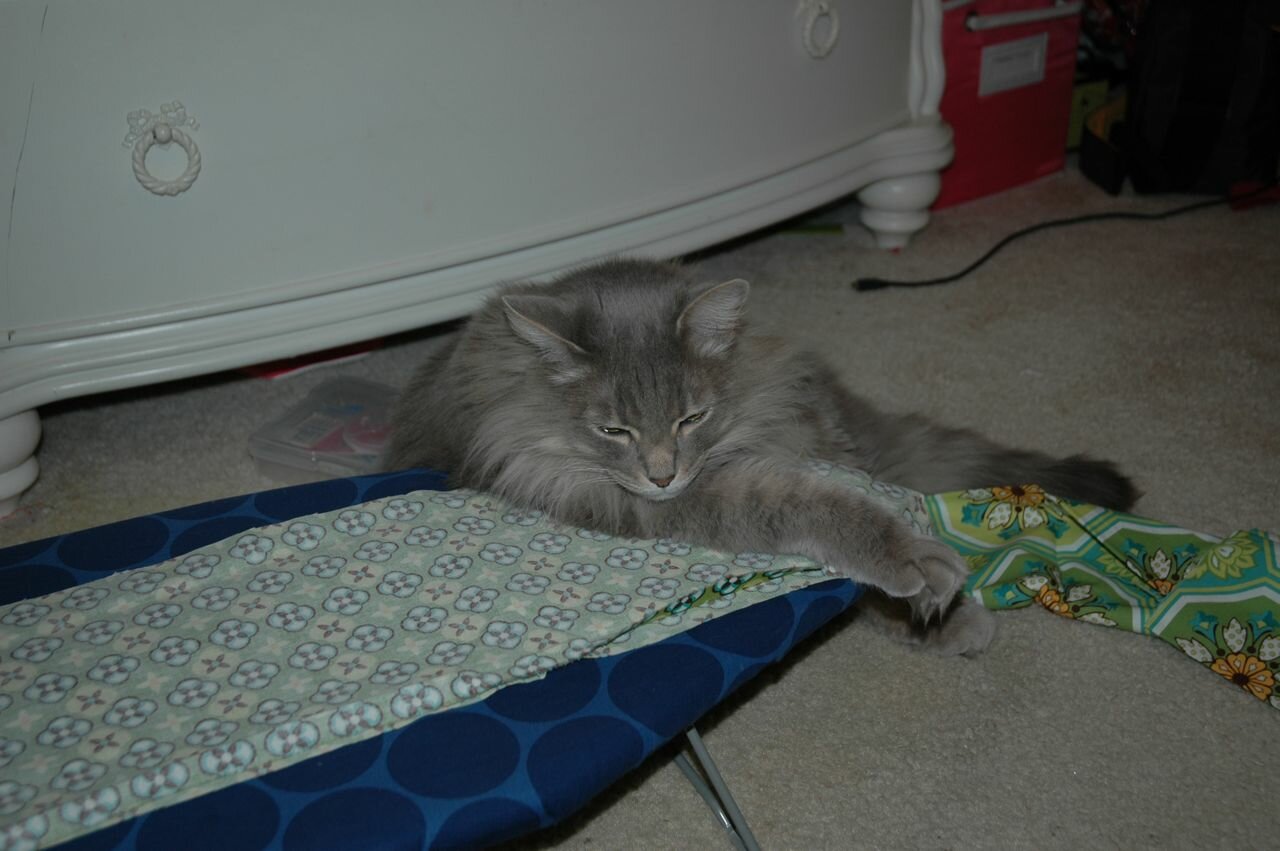
Izzy decided he had to lie right on the ironing board but here are my strips.
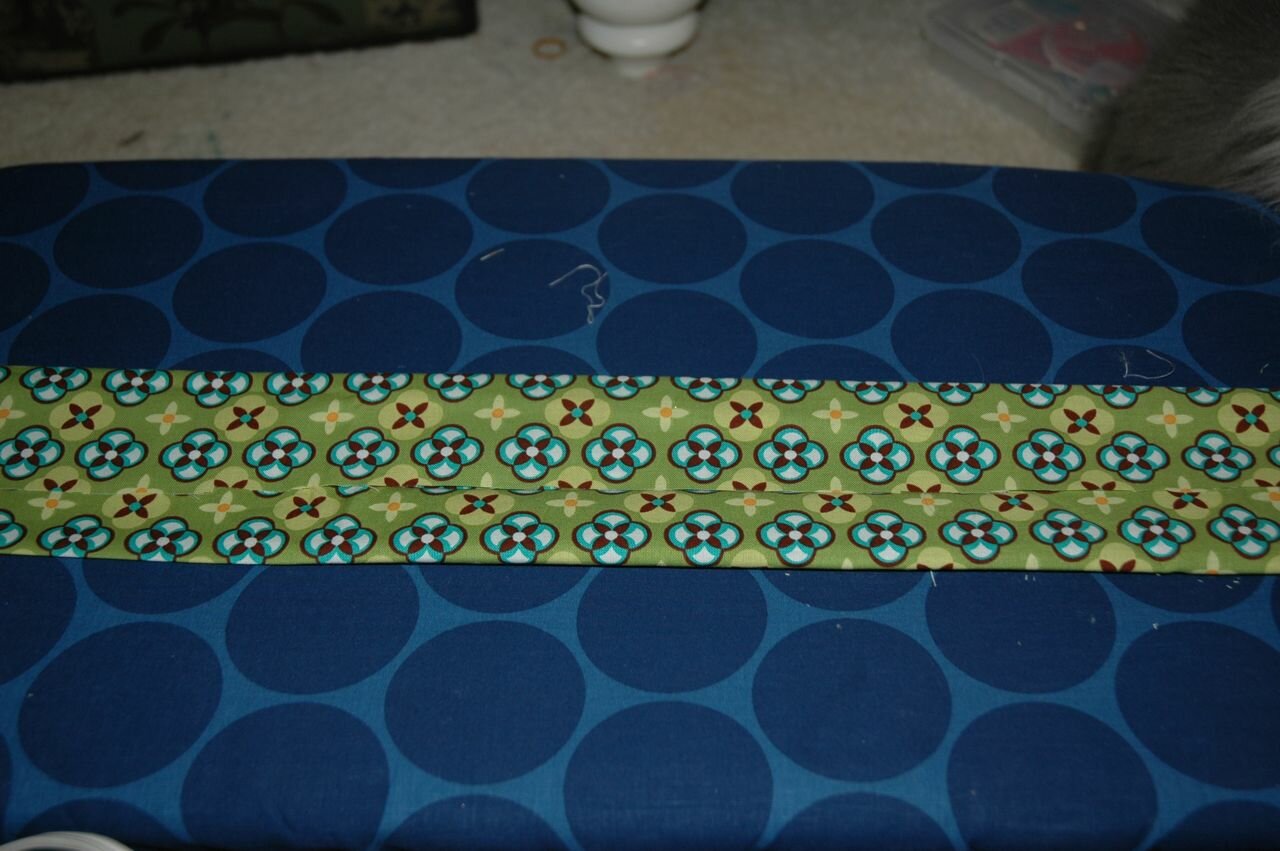
I cut my strips 7" high so that I could fold them into each other making it about 3.5" high and then I folded it again where the finished strips were a little more than 1.5" high.
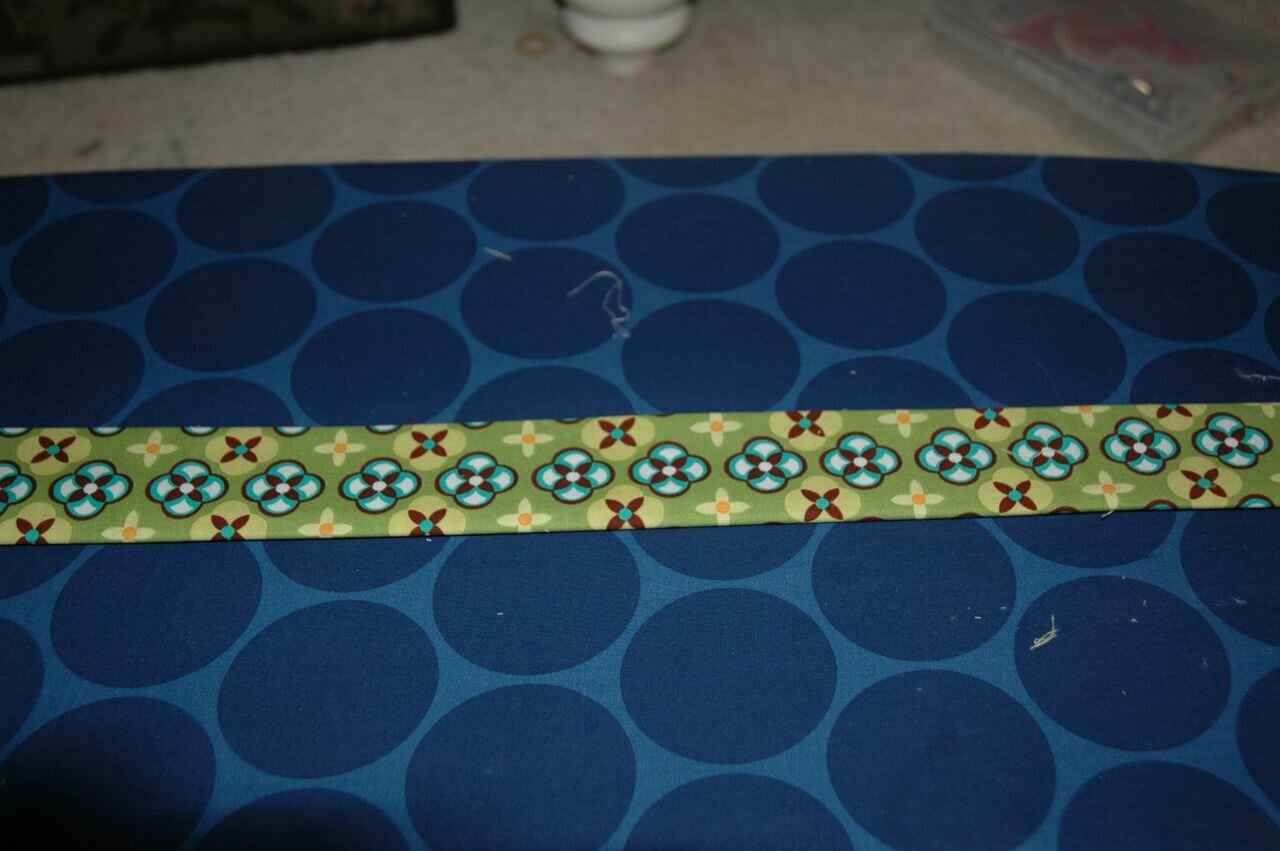
If you do not want to do this you could use interfacing to give it a little bit of weight.
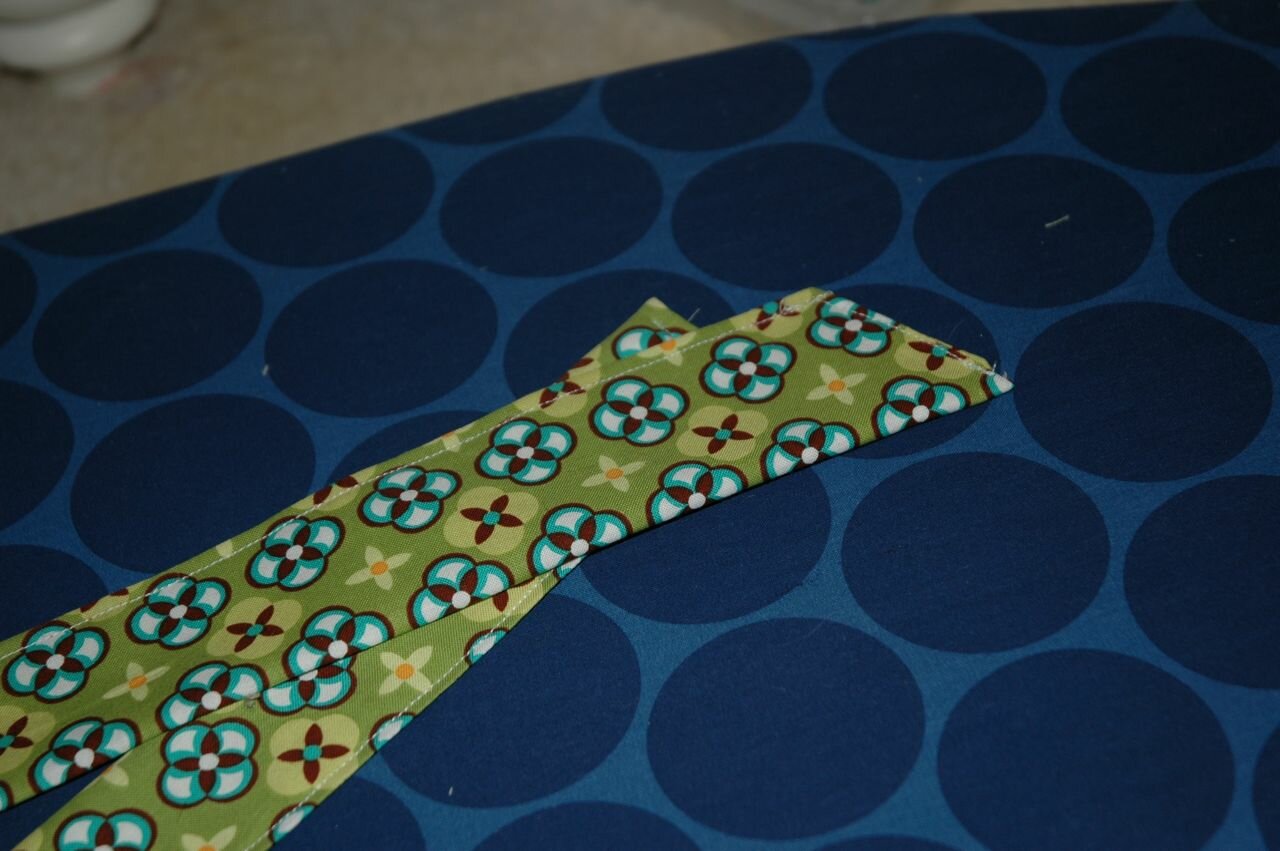
Sew your strips closed. I also angled the edge of mine because I like how that looks but that is completely up to you.
Now take your center piece and pin it over the top of the towel. I should have gotten a picture of this from the back but I didn't. You can hem it over in the back but it won't be visible in the front.
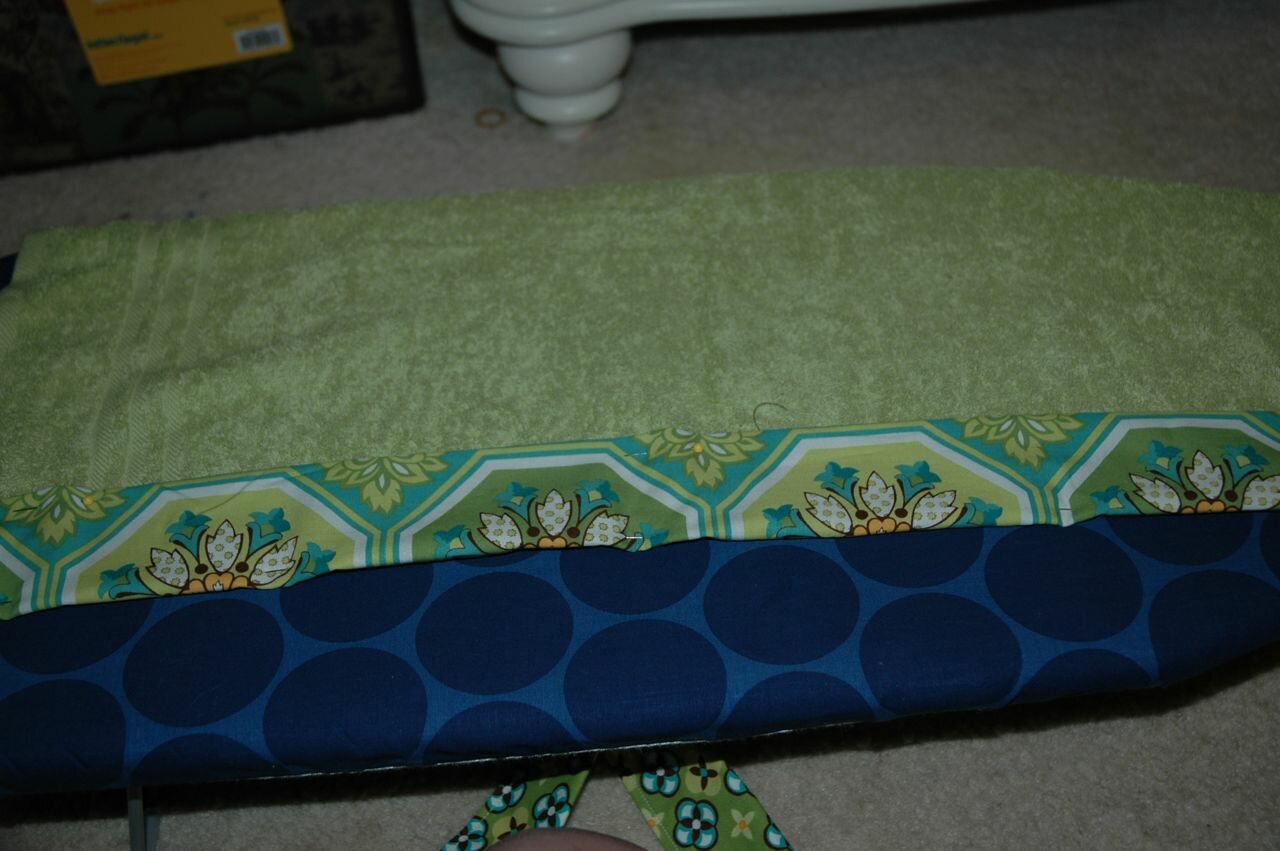
Pin it over and hem it on the bottom on the front. Pin the bottom. Like I said, I made mine about 2" long but you could make it as large as you wanted to. You can sew this on now or wait until you pin on the strips to sew it all together.
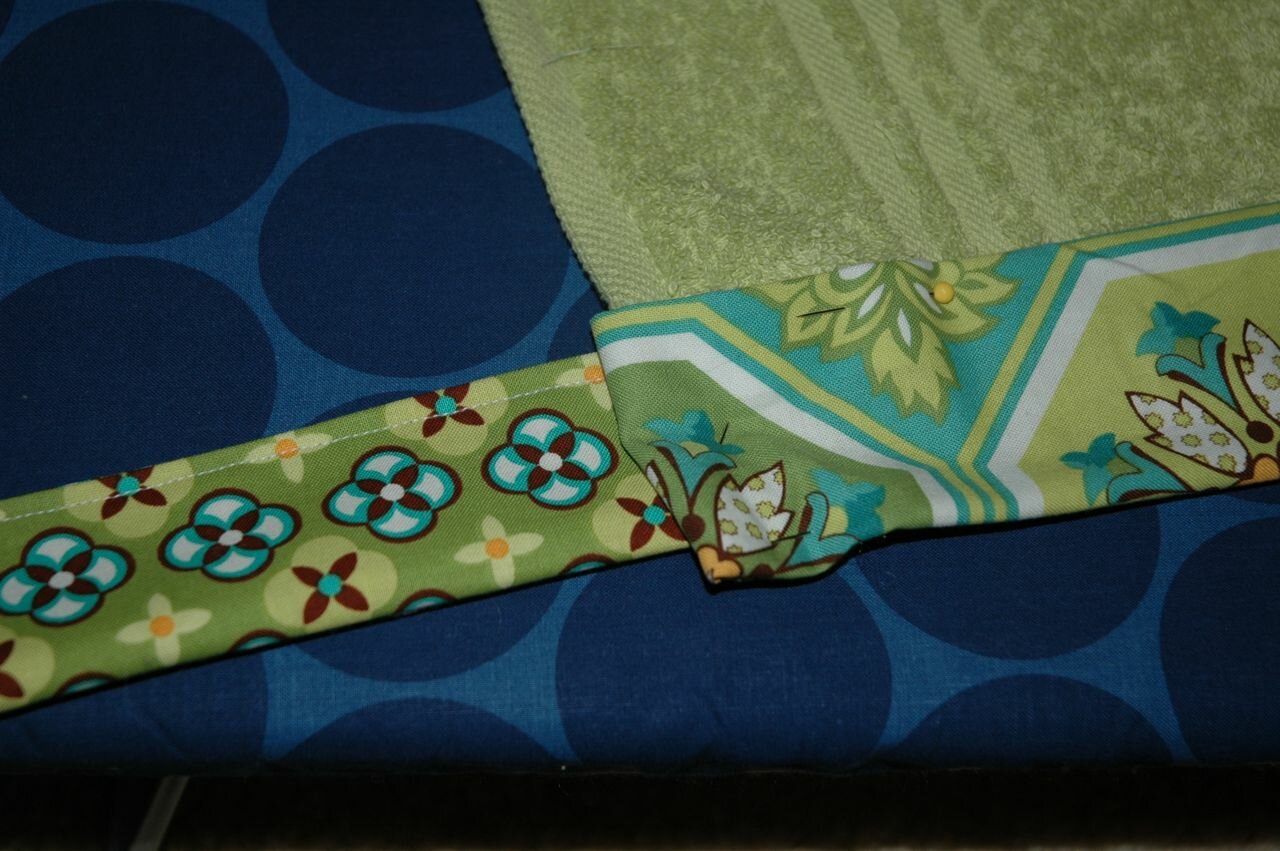
You will then pin the strips on each side. Once you have it pinned go ahead and sew it all together. You will need to sew 4 times-
1. The bottom of the middle piece
2. The top of the middle piece (I sewed this one first)
3. The strip on the left side
4. The strip on the right side
Then you can embellish. It would look adorable with ruffles at the bottom or a cute pocket. I decided to sew a flower on.
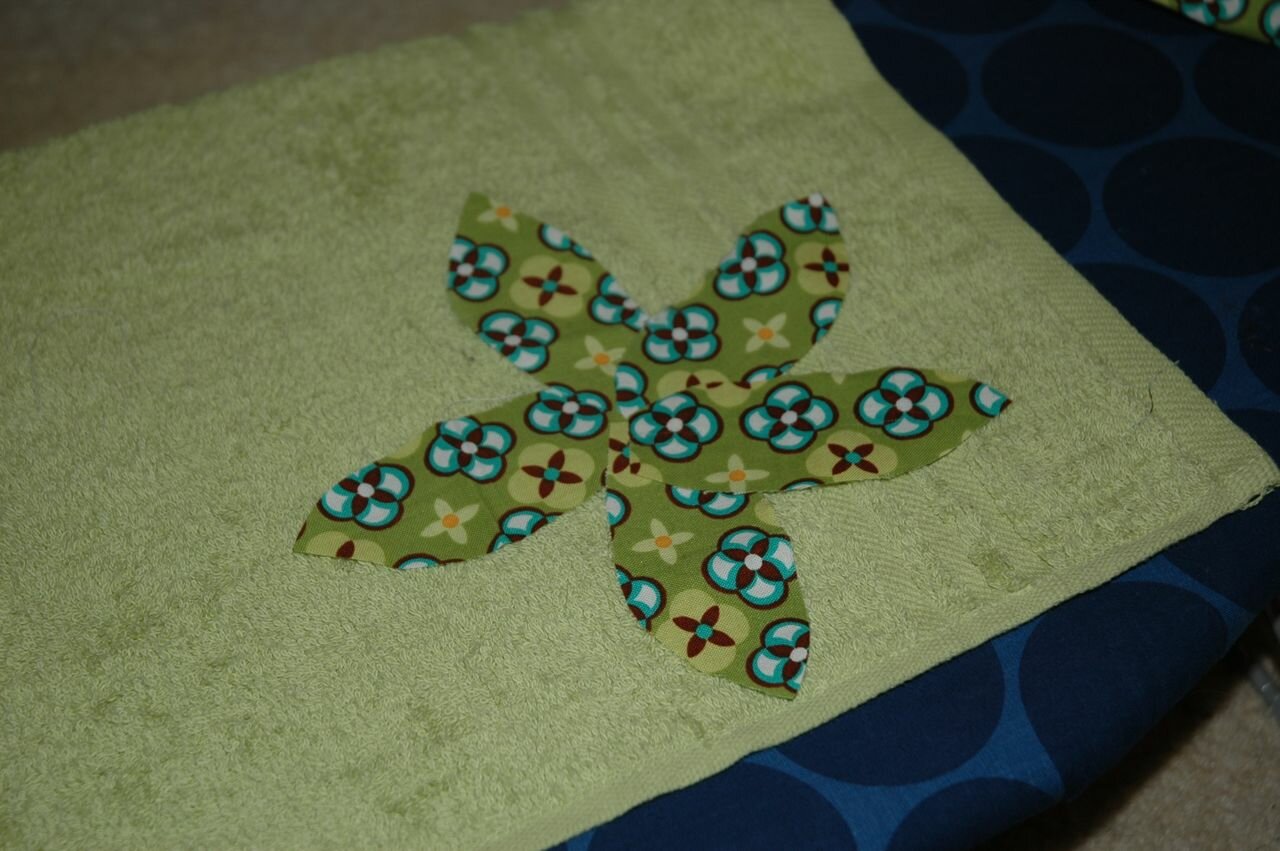
Sew your embellishment on (or leave it plain) and then you are done!!
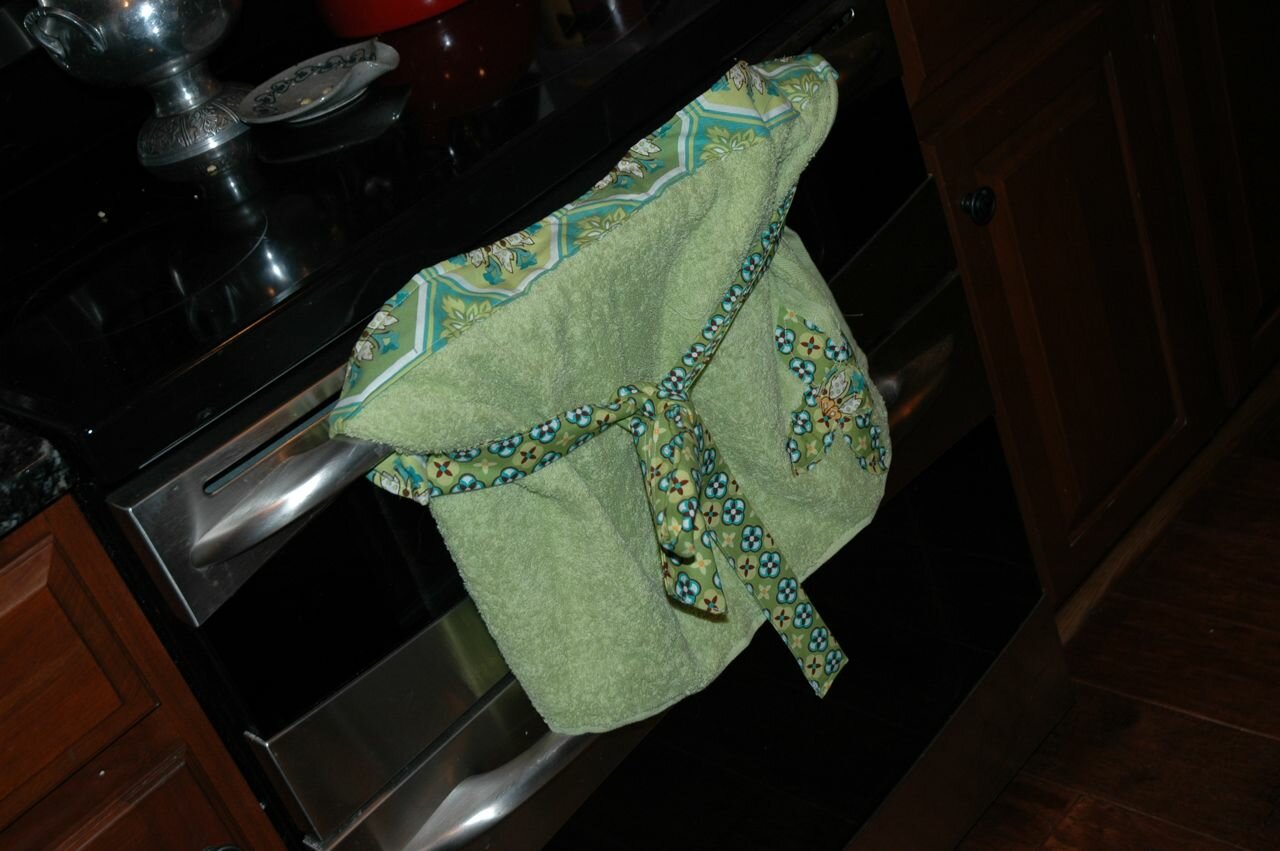
Adorable right? Thank you so much Elizabeth for letting me share my tutorial with your readers today!!
You are so welcome Kristen!
Have a great day everyone!


thanks so much for letting me share this today! :) It is actually still hanging up on the oven :)
ReplyDeleteGreat idea! I like how you can tie it to the oven...my 2 year old is always pulling my towel off!
ReplyDelete