Showing posts with label guest poster. Show all posts

Thursday, May 5, 2011

Just in cased you missed it…

image

Hey everyone! Just in case you missed it, I guest posted over at Brassy Apple yesterday sharing my tips on how to get your vehicle ready for summer!

110_5248

Meg is doing a really fun Save Our Summer {SOS} series on how to keep those kiddos entertained! So fun!

Check it out :)

Elizabeth

Tuesday, March 1, 2011

{Guest Poster} Jana from Giggles Glitz & Glam

*One of my Twitter friends {Jana} is guest posting at Sew Chatty today and sharing a tutorial for a fun patio furniture redo! She has a great crafty blog called Giggles, Glitz, and Glam. Take it away Jana!*

I got some patio furniture from my ex-boyfriends (quasi boyfriend) family when they moved. By no means is it stylish, but I needed something on my front patio. Wait, is it bad that I still own something from an ex? Cody knows its from them so maybe that makes it better.
Furniture set includes two chairs & two tables. One is like a coffee table and the other like an end table. With a little love these things will be a beauty!
The Chairs, one is a swivel chair & the other is stationary

The tables, pardon how dirty they are.
(Maybe I left them dirty so they would look even better after the remodel)

The beautiful designs that make them worthy!

First and foremost, these babies need a serious cleaning job. We pulled out the power blaster option on our spray nozzle and still had to clean with rags & towels.

Second, some serious sanding down! These bad boys were rusting and had lots of paint flaking off as you can see in the pictures of the detail. We personally used 180-grit sandpaper. We tried using the electric sander to save some time, but we ended up doing most of it by hand. I used a hand sander while Cody used his actual hands.

I was rather impatient to start the project so I left Cody sanding and took the furniture that was ready to the garage to be painted. I laid down a sheet of painters plastic to keep my garage from turning a pretty shade of red.

I painted the furniture first with a primer by RustOleum and by the way, I LOVE RustOleum! Turns out this stuff is fast drying, although I probably should have let it dry a little longer before moving on. It was a sunny day and it felt dry to the touch so I went for it. I suggest reading the directions & maybe even following them.

I then spray painted the furniture with Heritage Red Satin Enamel spray by RustOleum. Pre-warning: it takes at least one can per piece of furniture. I made several trips to Lowe's and still need one more can to finish the swivel chair as well as touch up some of the other furniture.


Overall, I am very impressed with the job and the fact that I got to use spray paint. I LOVE spray paint. I also love Rust Oleum spray paint more than others that I have used. The spray nozzle is bigger than most so I hardly get any on my fingers where some cans I end up with the stuff all over myself.

So here is the finished product...

Don't mind the leaves that I have yet to brush off the porch.

Ready for spring so I can put some flowers in the pot!

The beautiful details.


Be sure to check out my blog for updates on the front porch make-over. Like how these cushions desperately need to be replaced now that my patio furniture is actually pretty!


Tuesday, February 22, 2011

{Guest Poster Kristen from Ladybug Blessings}

I have a special treat for you all today :) It is my pleasure to introduce you to one of my bloggy friends! This is Kristen from Ladybug Blessings. Take it away Kristen!

Hi everyone! My name is Kristen and I blog over at a little place called Ladybug Blessings. I am very excited to be sharing my Towel Apron with y'all today!
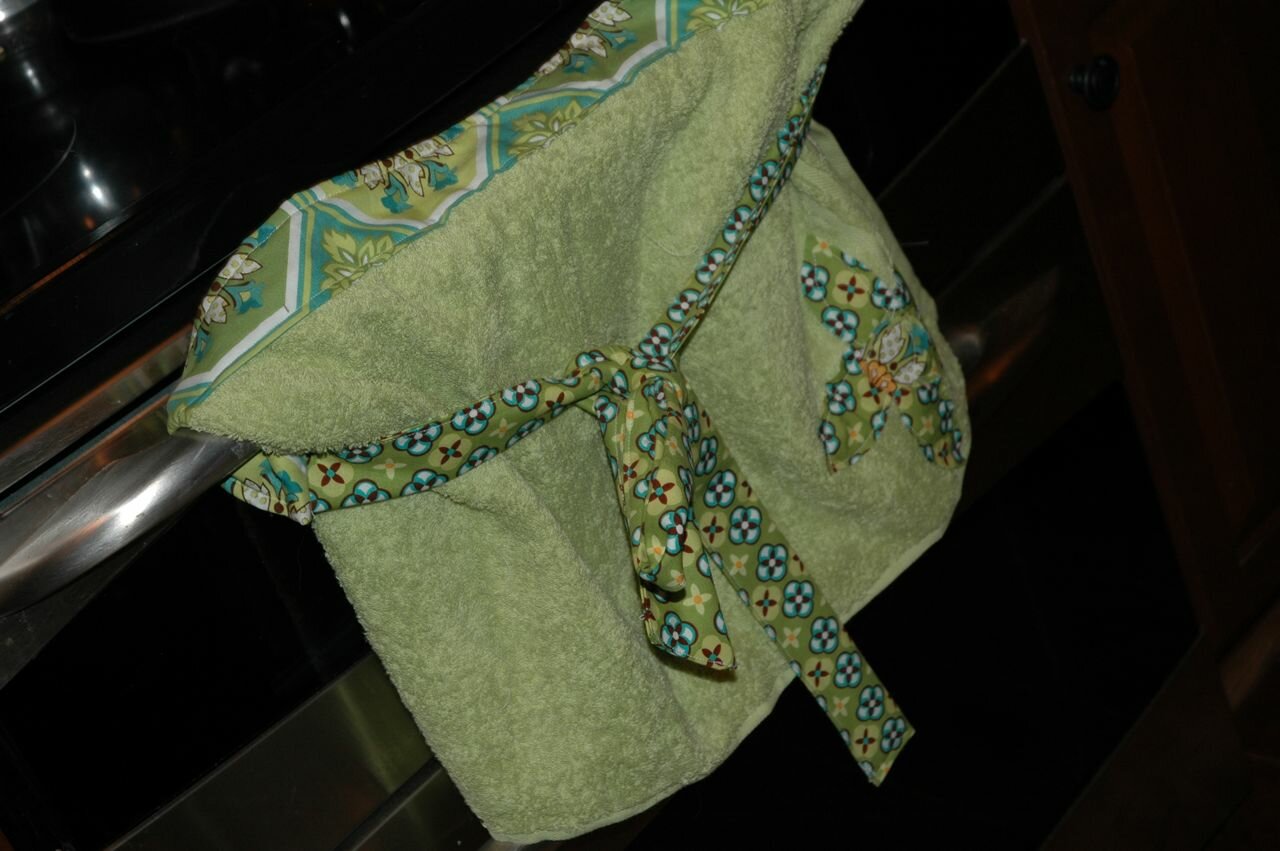


So this has been on my "to do list" since December and I have just now gotten around to it! I love aprons and think half aprons are adorable. Easy to wipe your hands on. But I feel guilty wiping my hands on my pretty fabric (A little OCD, I know!) Solution? A hand towel apron! This way I am really wiping my hands on the towel but it looks pretty :)

Supplies

  • Hand Towel

  • Two long fabric strips (for ties)

  • Fabric strip for the middle. A little bit longer than the length of the towel.

  • Fabric to embellish with


Cut your fabric into strips. You can do this in a few different ways. Because I didn't have one long strip of fabric I cut two side pieces (7" high and 33" long) and one middle piece (length of towel and about 2" high). But you could use one long piece if you wanted to.
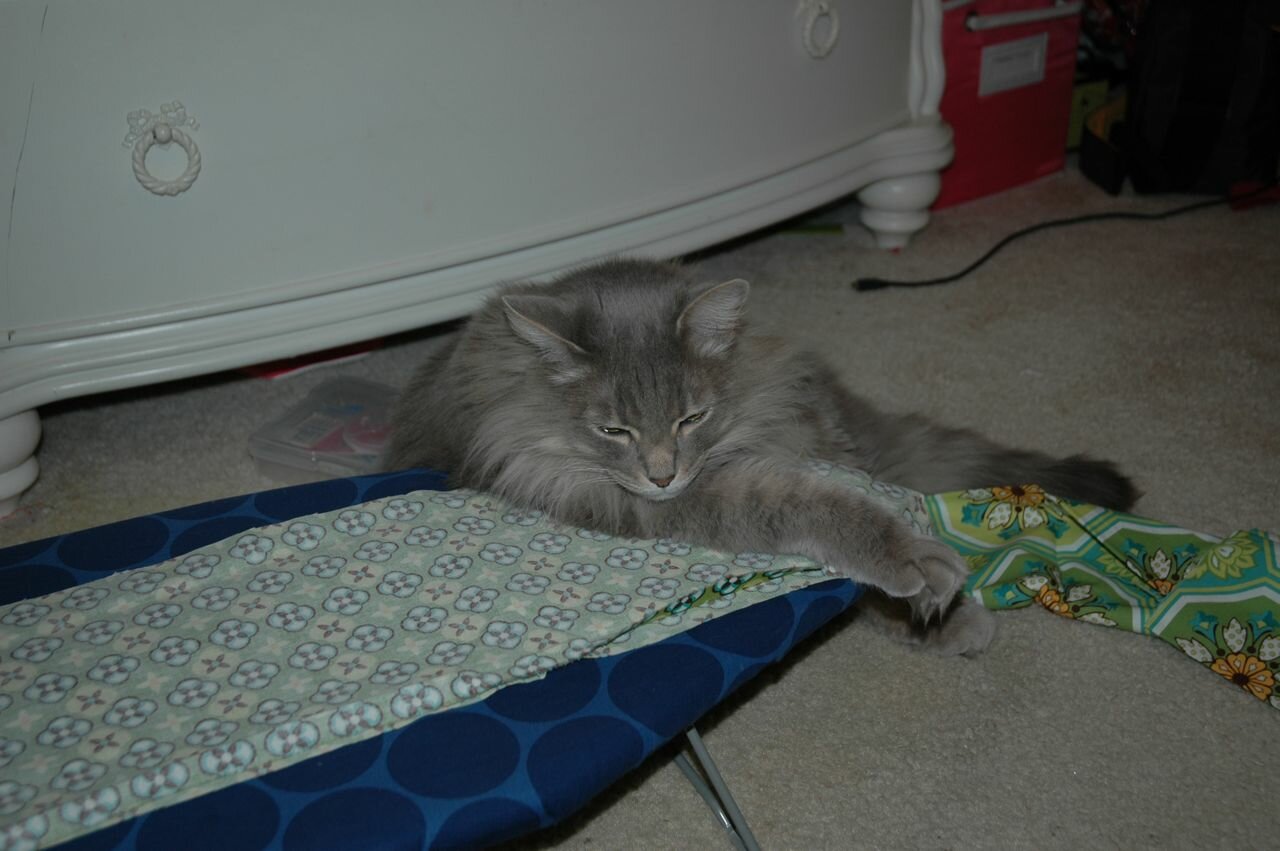

Izzy decided he had to lie right on the ironing board but here are my strips.
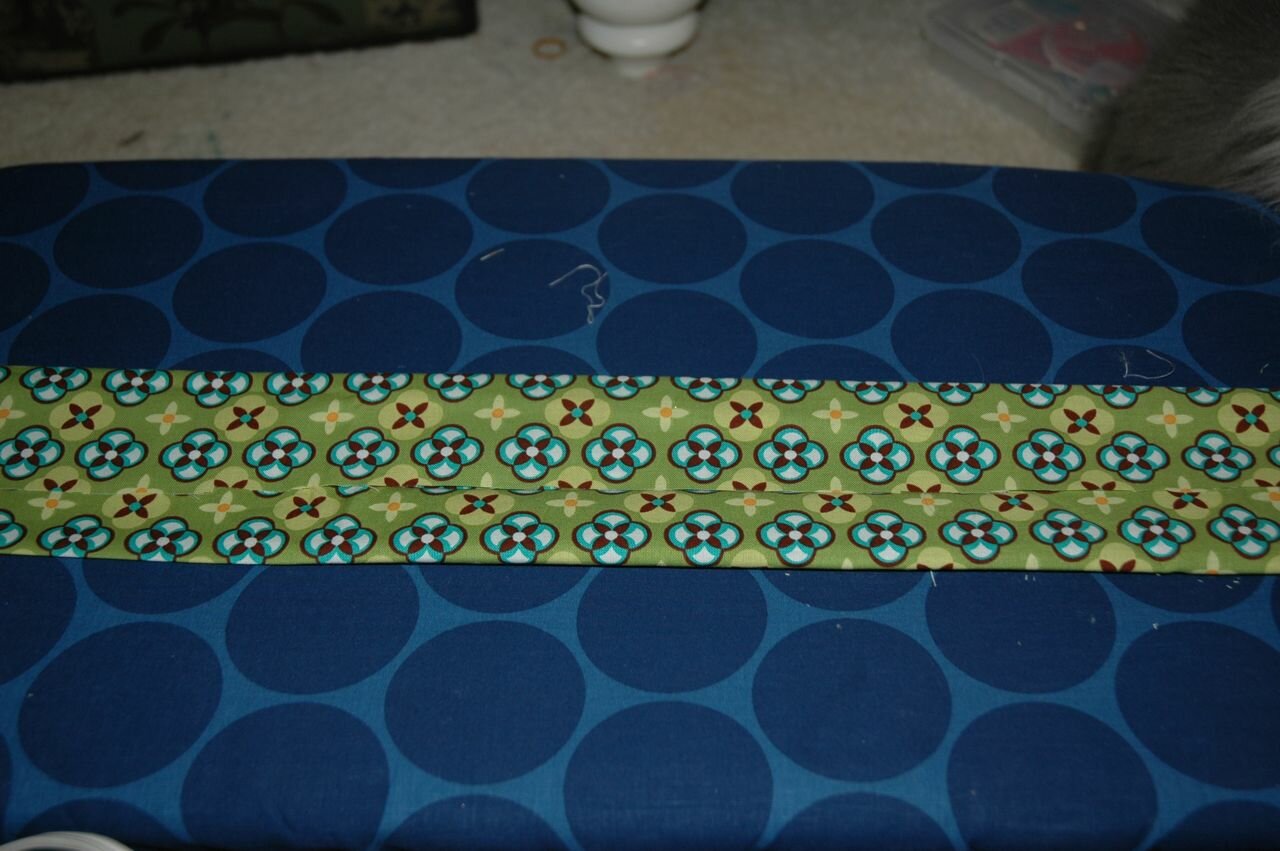

I cut my strips 7" high so that I could fold them into each other making it about 3.5" high and then I folded it again where the finished strips were a little more than 1.5" high.
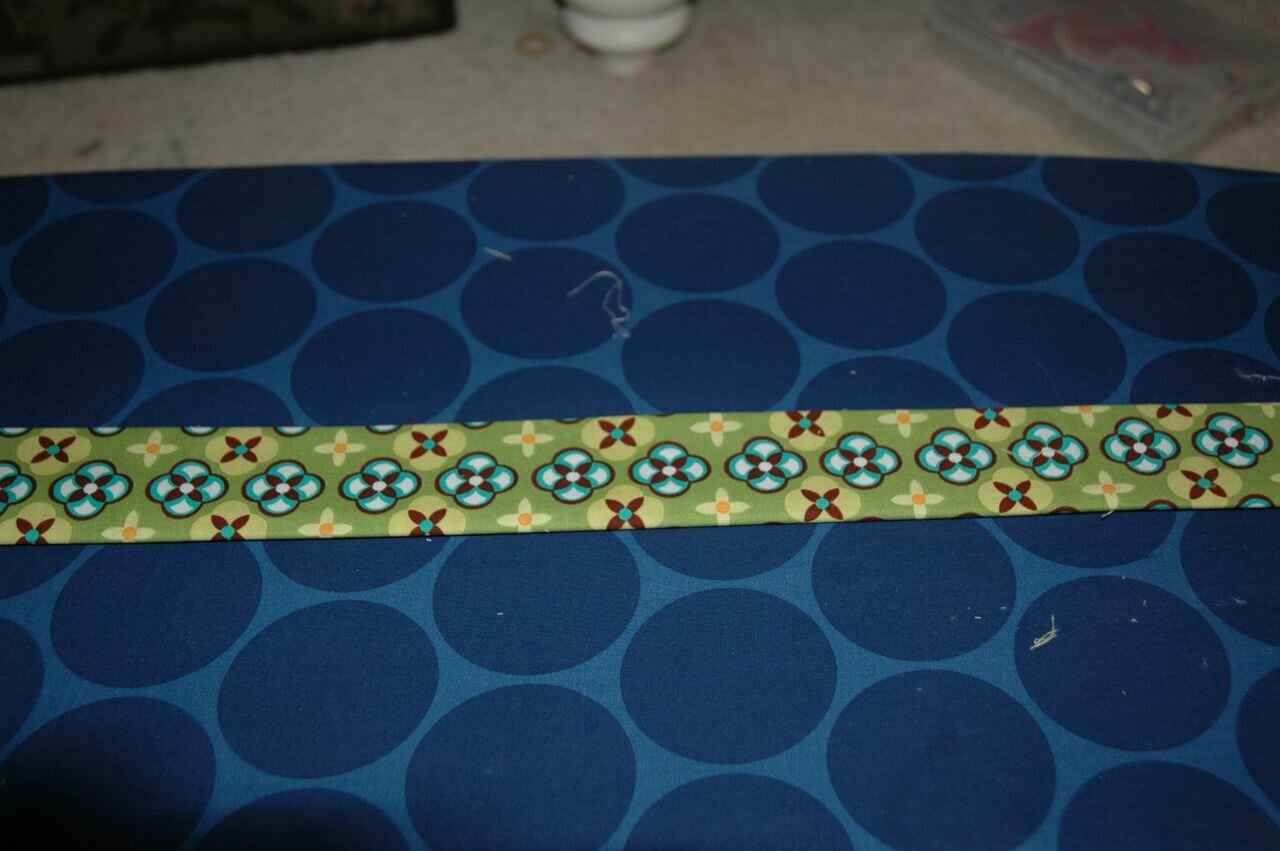

If you do not want to do this you could use interfacing to give it a little bit of weight.
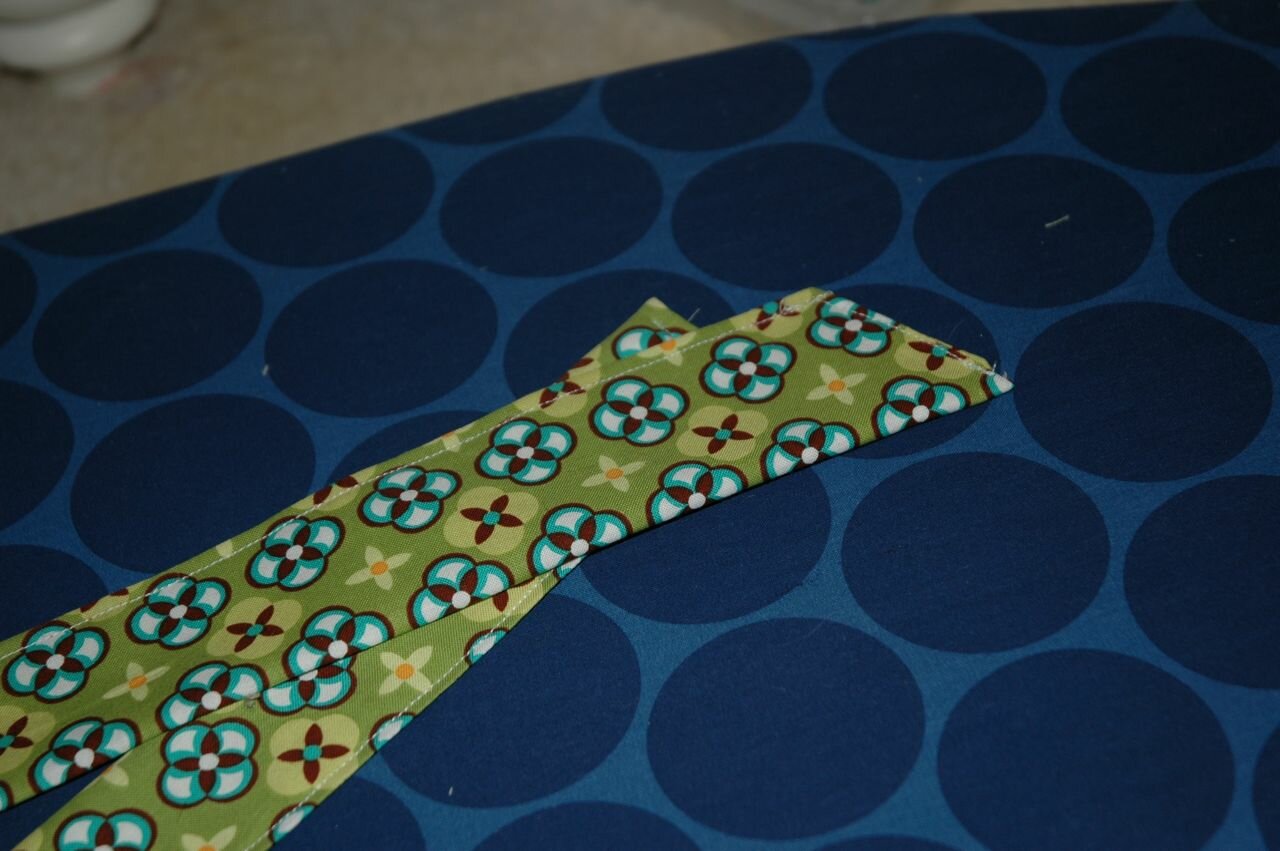

Sew your strips closed. I also angled the edge of mine because I like how that looks but that is completely up to you.

Now take your center piece and pin it over the top of the towel. I should have gotten a picture of this from the back but I didn't. You can hem it over in the back but it won't be visible in the front.
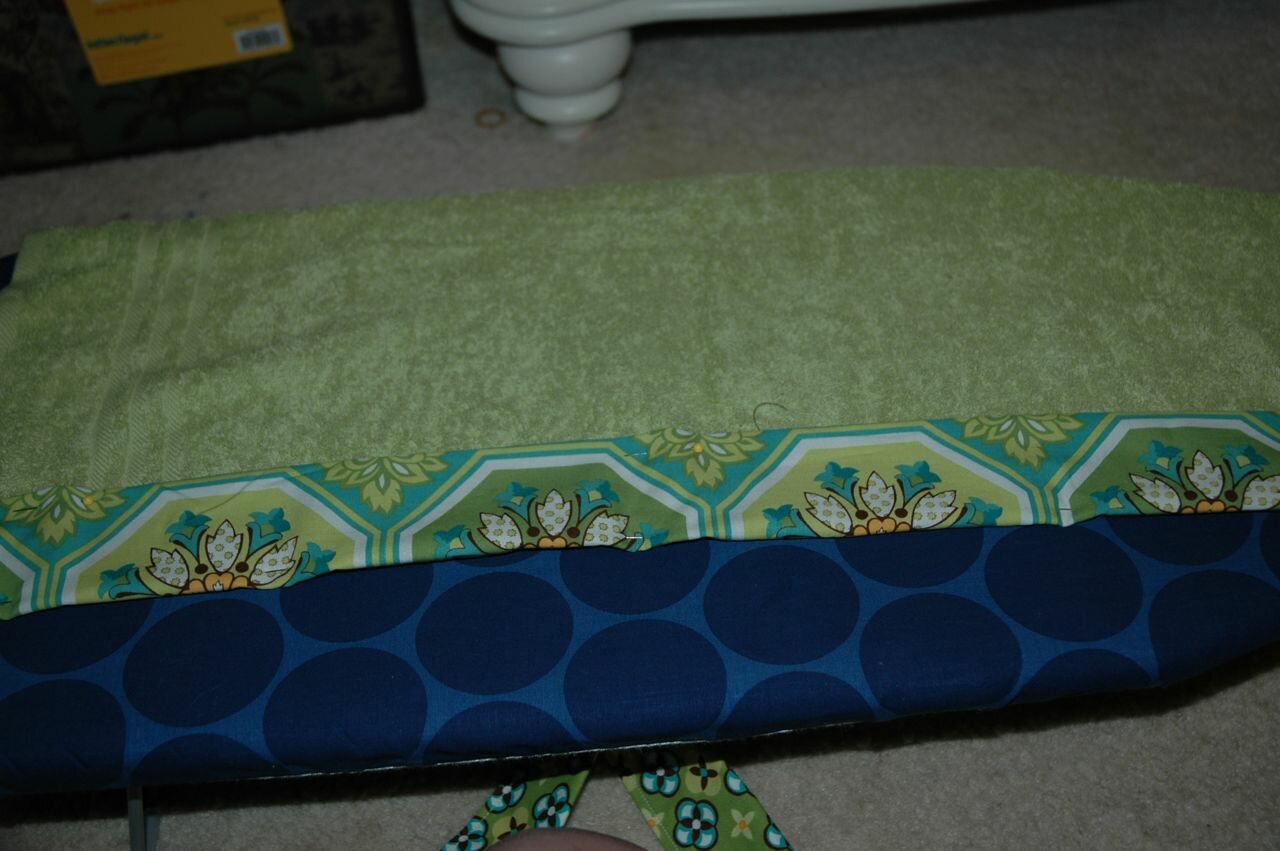

Pin it over and hem it on the bottom on the front. Pin the bottom. Like I said, I made mine about 2" long but you could make it as large as you wanted to. You can sew this on now or wait until you pin on the strips to sew it all together.
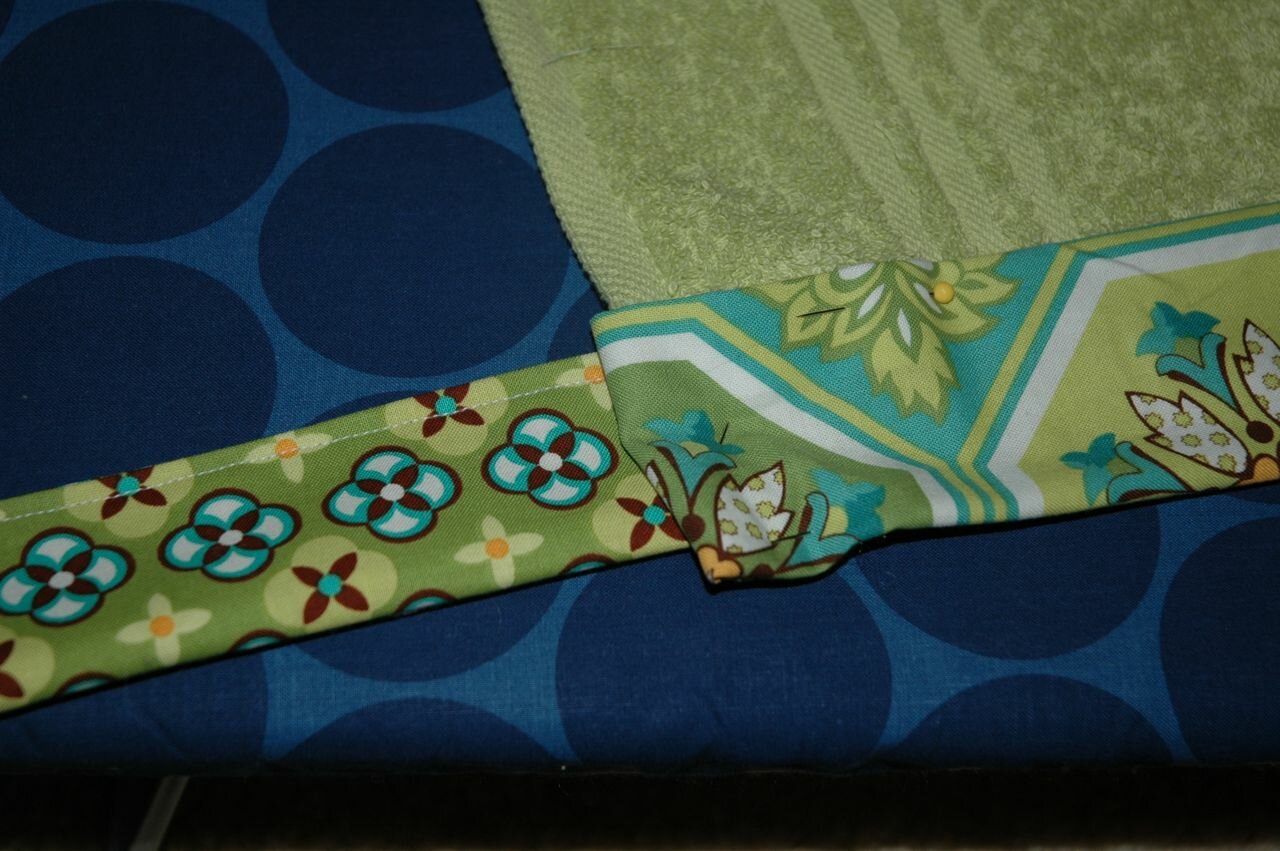

You will then pin the strips on each side. Once you have it pinned go ahead and sew it all together. You will need to sew 4 times-
1. The bottom of the middle piece
2. The top of the middle piece (I sewed this one first)
3. The strip on the left side
4. The strip on the right side

Then you can embellish. It would look adorable with ruffles at the bottom or a cute pocket. I decided to sew a flower on.
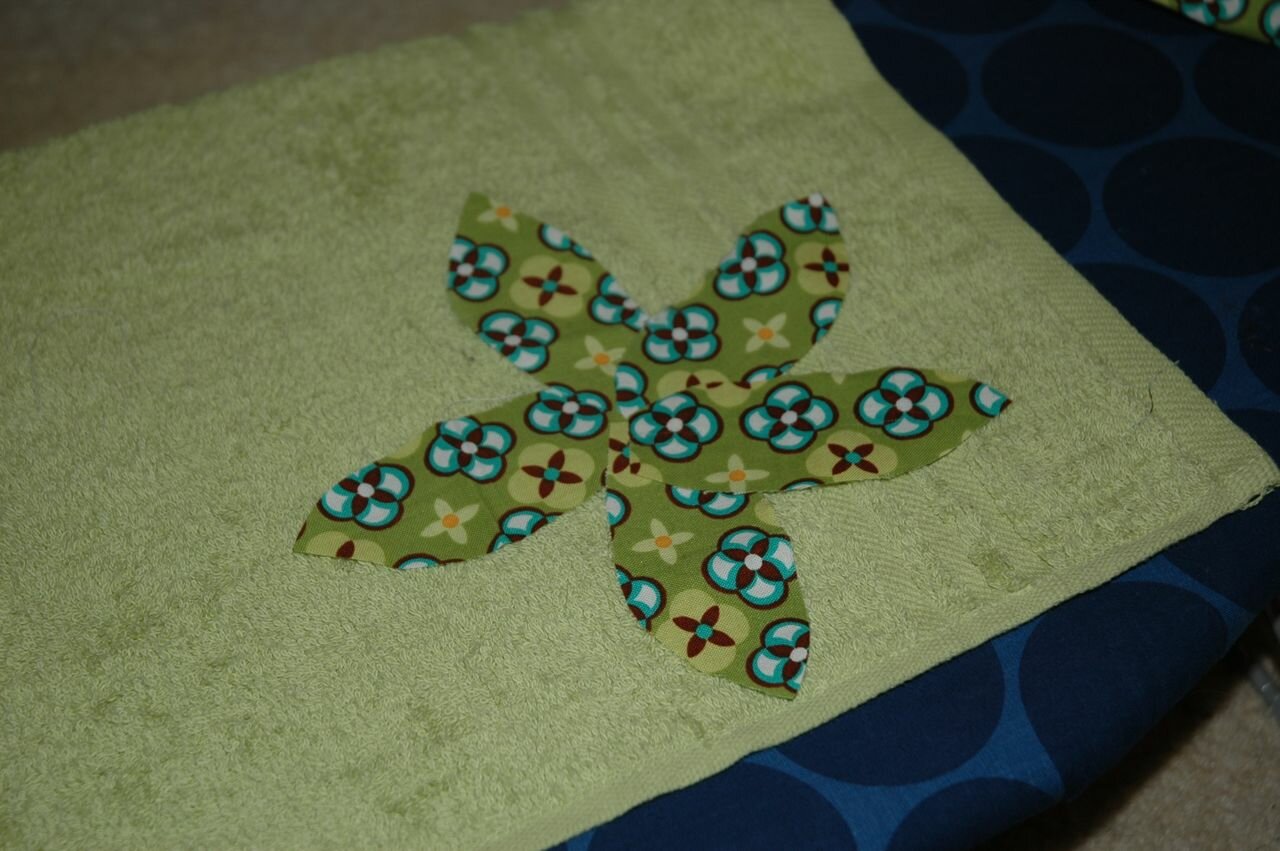

Sew your embellishment on (or leave it plain) and then you are done!!
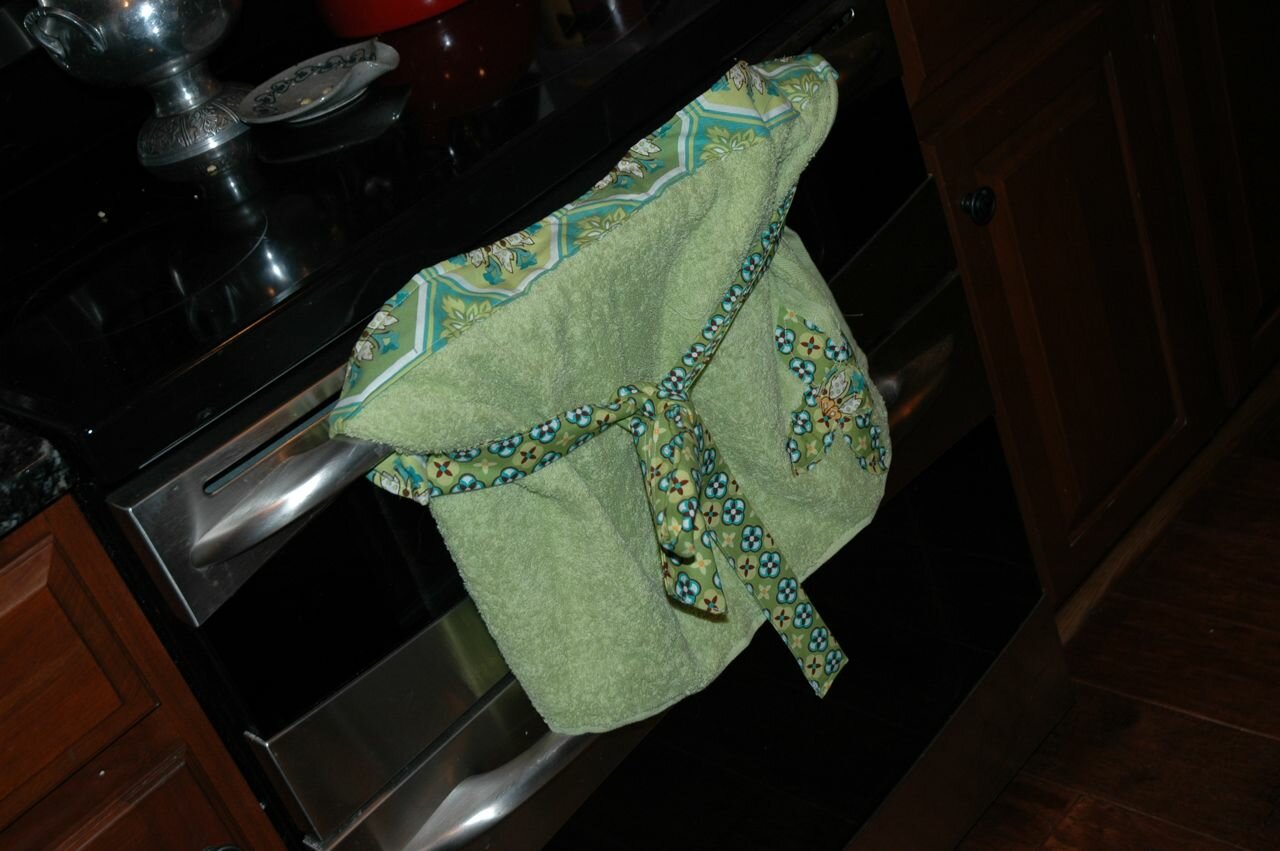


Adorable right? Thank you so much Elizabeth for letting me share my tutorial with your readers today!!

You are so welcome Kristen!

Have a great day everyone!


Wednesday, February 9, 2011

{Guest Poster} Kate from See Kate Sew

It is my pleasure to introduce to you Kate from See Kate Sew!

Kate_header
image

Kate's blog is so fun! She is amazingly creative, her tutorials are very easy to follow, and her baby is super cute! Oh and her Etsy shop…love! AWESOME baby gifts! If my little guy was smaller I’d be buying up those little hedgey hogs so fast! My friends need to have babies!

Take it away Kate!


………………………………………………………………………………………………..

I'm so excited to be guest posting today! I love Sew Chatty!! Thanks for having me :) I blog over at see kate sew, come by and say hi!

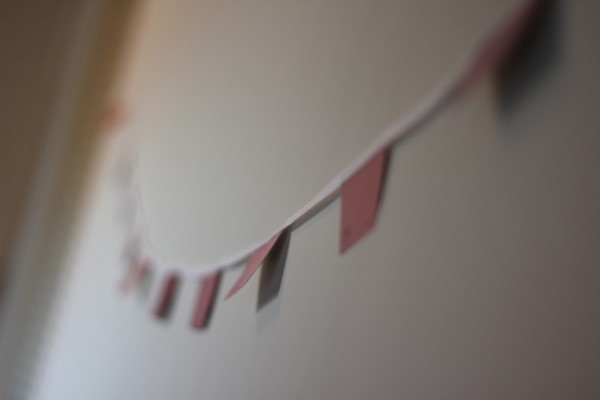
I'm going to show you a super easy way to make cute bunting for any holiday! I'm using shades of pink for Valentine's Day but you could use any colors to match your event or holiday!


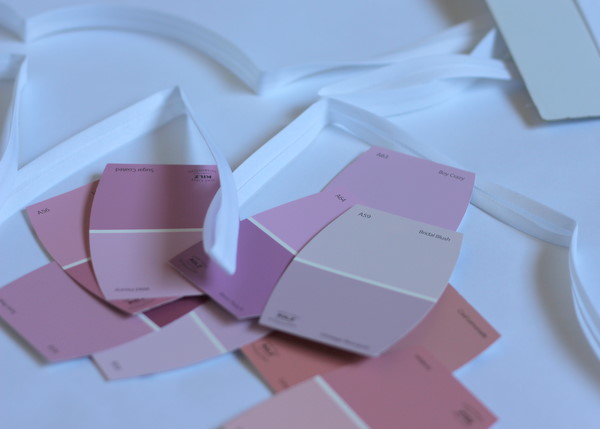
Materials:
Bias Tape


Paint Chips

1. Cut your paint chips down to one color if they are in a strip.

2. Fold over and press bias tape. Spell "Love" with it if you want!


3. Pin paint chips in fold of bias tape leaving 4 inches in between each one.

4. Sew down the bias tape, catching the paint chips in the seam.

That's it! Told ya it was easy!


Thanks so much for visiting with us Kate! This is so cute {and cost effective}. I'm headed to Home Depot for some paint chips!


Related Posts Plugin for WordPress, Blogger...