Friday, December 20, 2013

{awesome pattern shout out}

Hi friends! Things have been super quite around the blog lately. Enjoying this season with friends and family.

Need to make a quick last minute gift for a crafty person in your life? Might I suggest this awesome Open Wide Pouch by Anna at Noodlehead.


You guys this pattern is FANTASTIC. So well written and really fun to make. I learned a few new techniques along the way too!

For my fabrics I used a gray chevron I had in my stash, and a sweet polka dot print from Whole Port. I used a Pellon heavy interfacing for some extra sturdiness too. 

This is the largest size and it's HUGE. It's a great project bag for us crafty girls who always seem to bring a project everywhere we go. As a crocheter, this bag will fit everything I need for a small project: yarn, my hook pouch, etc… Contains everything in one convenient pouch that I can toss in my bigger purse. Plus it saves my car keys form getting tangled up in a ball of yarn. It's happened.

I hope you'll try out the pattern! I can't wait to make more. My next project to sew for myself is Anna's Super Tote. Can. Not. Wait.

Have a happy day! 


Elizabeth
Pin It

Tuesday, December 10, 2013

{Crochet Boot Cuff TUTORIAL}

Hi friends! I have a fun crochet tutorial to share with you today! 

I have been making LOTS of boot cuffs. They are such a fun accessory for the cooler months. Anyhow, I've tried out several different patterns both free tutorials I've found online and patterns I purchased when those didn't work out... Anyhow, in my quest for a pair of boot cuffs that fit my need for quick and simple gifting, I have found nothing. But like they say, "necessity is the mother of invention"...so I came up with my own pattern and they are quick and simple and CUTE. You'll be able to whip these up in a bout an hour, plus I'm showing you how to package them all professional like too. You're welcome.

Pin this image!
Pin this image!
Supplies:
worsted weight yarn
size H 5mm hook
yarn needle
scissors
buttons
 Chain 35. Note: 35 worked great for me, but you may need to add or decrease chains depending on your calf size.
 Join chain with slip stitch being careful not to twist your chain.
 Chain two.
 DC in each chain all the way around.
 You made it!
 Join with a slip stitch to top of first DC. Chain 2. Turn.
 DC in each chain around. Repeat pattern for 8 rows.
 Done! Fasten off and weave in your ends. Now make the second cuff the same way.
After you weave in all your ends, add your buttons. I like to add mine to the second row from the top and on the sides. Be mindful to keep your seams in the back and also that you are adding one button to the right side of one cuff and one to the left side of the other so that you have a right and a left. Make sense?

Front View
Side View


 Alright, lets talk packaging. These will make a GREAT Christmas gift for any accessory loving girl in your life. 

Supplies:
Kraft paper. A strip that measures about 3x15 is perfect.
Stamp kit
tape
cute tape to cover the functional tape

Method:
Stamp your wrapper. Wrap it around the cuffs and tape it closed with the clear tape. Then place the cute tape over that tape. Pictured below.

Fabric tape is from Daiso. I love it so much!
For these ones I added a little rosette pin too. For the rosette pattern click here. For the leaf pattern click here.

I hope you enjoy this tutorial! Happy stitching!!


Elizabeth
Pin It

Sunday, November 24, 2013

{Thanksgiving Pallet Art}

Today I'm sharing a fun DIY pallet art project with you that's perfect to add to your home decor this Thanksgivning!

This project was made in partnership with JoAnn Fabrics but all ideas and opinions are my own.

I wanted to make a little something for our Thanksgiving buffet table this year and this is what I came up with! Let me walk you through how I made this fun little piece of pallet wood and Whoville inspired Thanksgiving tree!

 We have a bunch of salvaged pallets so we're always looking for cool stuff to do with them. Aside from a few items I had around the house, most supplies were purchased at my local JoAnn's. Here is what you'll need to make the sign:
  • piece of pallet wood. Mine is cut to about about 9" long.
  • craft paint in whatever color you choose. I did one very light coat. I wanted a touch a color, but also for the distressed wood to show though.
  • "thanks" letters using some fun scrapbook paper and cut with my Cricut Mini
  • wire letter typography...I got some electrical wire at home depot then covered it with my favorite chunky yarn and a pompom made with my small {pink} Clover pompom maker. Here is a great detailed tutorial on how I did the cursive lettering.
  • once I got the letters covered with yarn I hot glued them onto the pallet and prayed they'd stay standing...and they did yay!
I could not love my little pompom tree more! Here's how I made it...

  • found a milk bottle in my stash which I adore. If you don't have a milk bottle, any vase will do!
  • pom poms! Grab some fall colored yarn scraps and your Clover pompom maker and get cracking. I made 9.
  • I found some sticks in the backyard and hot glued the pompoms to the sticks.
  • Add your pompom sticks to your vase and you're done! 
Head to JoAnn's with this fab coupon and get crafting!


I love the charm and sweetness this will add to our Thanksgiving table!

Have a blessed day friends!


Elizabeth
Pin It

Wednesday, November 20, 2013

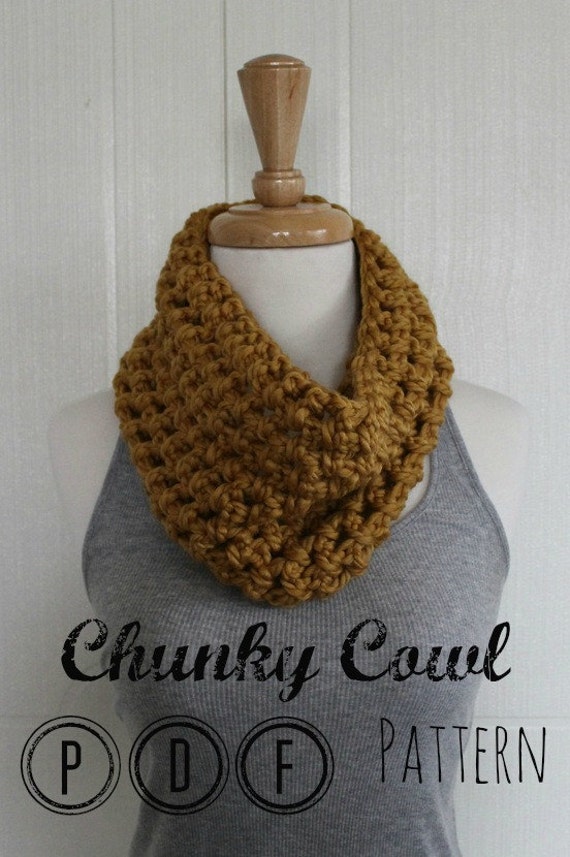
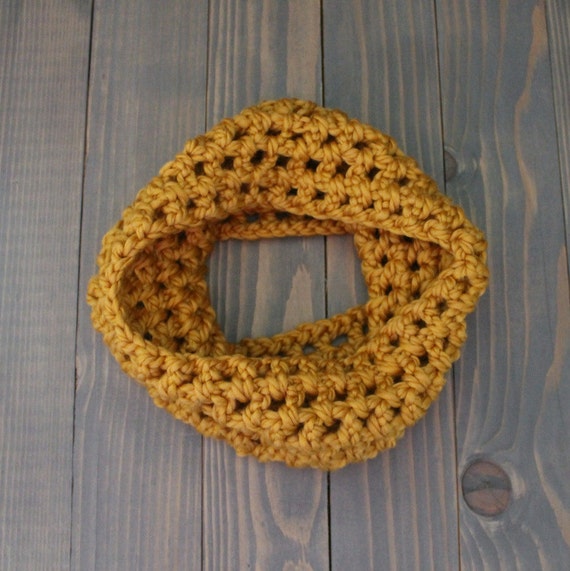
{Chunky Crochet Cowl} ***new crochet pattern***

Hi friends! I hope you're having a great week! I've been in gift making mode for a while and designed a pattern for a chunky cowl. The world's most perfect goes.with.all.the.things accessory. Good news for you...I decided to draft up the pattern to share with you all!

pattern available in my Etsy shop.


This cowl is made with super bulky yarn and a big hook so it comes together really quick. Like under an hour. It uses basic stitches and is great for beginners to crochet. 

I hope you enjoy it!


Elizabeth
Pin It
Related Posts Plugin for WordPress, Blogger...