Showing posts with label crochet. Show all posts

Tuesday, December 10, 2013

{Crochet Boot Cuff TUTORIAL}

Hi friends! I have a fun crochet tutorial to share with you today! 

I have been making LOTS of boot cuffs. They are such a fun accessory for the cooler months. Anyhow, I've tried out several different patterns both free tutorials I've found online and patterns I purchased when those didn't work out... Anyhow, in my quest for a pair of boot cuffs that fit my need for quick and simple gifting, I have found nothing. But like they say, "necessity is the mother of invention"...so I came up with my own pattern and they are quick and simple and CUTE. You'll be able to whip these up in a bout an hour, plus I'm showing you how to package them all professional like too. You're welcome.

Pin this image!
Pin this image!
Supplies:
worsted weight yarn
size H 5mm hook
yarn needle
scissors
buttons
 Chain 35. Note: 35 worked great for me, but you may need to add or decrease chains depending on your calf size.
 Join chain with slip stitch being careful not to twist your chain.
 Chain two.
 DC in each chain all the way around.
 You made it!
 Join with a slip stitch to top of first DC. Chain 2. Turn.
 DC in each chain around. Repeat pattern for 8 rows.
 Done! Fasten off and weave in your ends. Now make the second cuff the same way.
After you weave in all your ends, add your buttons. I like to add mine to the second row from the top and on the sides. Be mindful to keep your seams in the back and also that you are adding one button to the right side of one cuff and one to the left side of the other so that you have a right and a left. Make sense?

Front View
Side View


 Alright, lets talk packaging. These will make a GREAT Christmas gift for any accessory loving girl in your life. 

Supplies:
Kraft paper. A strip that measures about 3x15 is perfect.
Stamp kit
tape
cute tape to cover the functional tape

Method:
Stamp your wrapper. Wrap it around the cuffs and tape it closed with the clear tape. Then place the cute tape over that tape. Pictured below.

Fabric tape is from Daiso. I love it so much!
For these ones I added a little rosette pin too. For the rosette pattern click here. For the leaf pattern click here.

I hope you enjoy this tutorial! Happy stitching!!


Elizabeth
Pin It

Wednesday, November 20, 2013

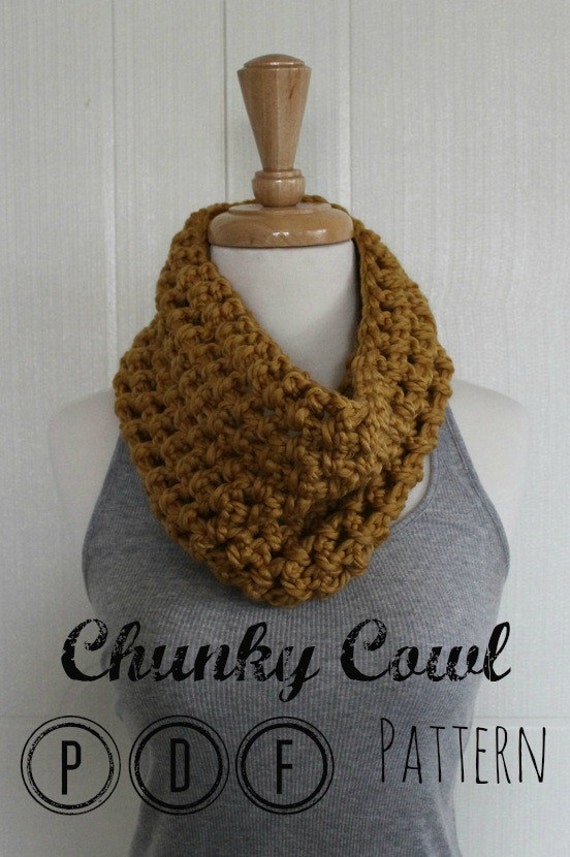
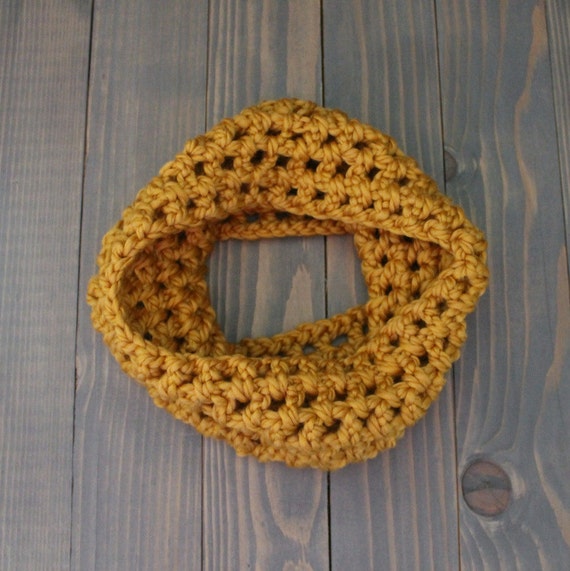
{Chunky Crochet Cowl} ***new crochet pattern***

Hi friends! I hope you're having a great week! I've been in gift making mode for a while and designed a pattern for a chunky cowl. The world's most perfect goes.with.all.the.things accessory. Good news for you...I decided to draft up the pattern to share with you all!

pattern available in my Etsy shop.


This cowl is made with super bulky yarn and a big hook so it comes together really quick. Like under an hour. It uses basic stitches and is great for beginners to crochet. 

I hope you enjoy it!


Elizabeth
Pin It

Friday, September 27, 2013

{Rainbow Crochet Mini Heart Garland}

Hi there! Welcome to the last post of crochet week! It's been so fun sharing ideas with you! Finishing off our week together is another super simple tutorial. This time for a little heart garland!

 So cute right?!?! Perfect to add a little touch to your craft room or kitchen or wherever you need some hearts and rainbows. Which is everywhere if you ask me. 

Let's get to it! Here's what you need:
Rainbow yarn. I used "I love this Cotton" by Hobby Lobby.
Size H 5mm crochet hook.
Scissors
Yarn needle
string for stringing the garland

Directions:
You are going to make 12 mini rainbow hearts using this pattern:
Magic circle. Chain 2.
In the circle...3 triple crochet, 4 double crochet, 3 triple crochet
Pull yarn to mostly close the circle, leaving a small hole. Chain 2. Slip stitch into hole to finish heart. Pull yarn to close it up tight. Fasten off. Weave in ends. Repeat for 12 hearts.

Now that you have your 12 super cute little rainbow hearts, it's time to string them up. Cut a piece of string four feet long. String up your hearts weaving in and out of the tops of the hearts. Try to space them evenly on the string and leave about 6 inches on each side for hanging.


Make sure to check out the other projects from Crochet Week! 


Have a happy crafty weekend my friends! See you next week with some fun Halloween ideas!


Elizabeth
Pin It

Wednesday, September 25, 2013

{Crochet roundup: Top 5 projects to make this fall}


Welcome back to crochet week! Today is a roundup of the top 5 projects I can't wait to make this fall! Let's get to it!


I'm so looking forward to working on these projects in the coming weeks! I'll be sure to post my progress. For all sorts of crochet inspiration, follow my Crochet Board on Pinterest!

Are you just learning to crochet? Check out this roundup of fun projects for beginners!


***SHOP DISCOUNT***
Take 10% off my One Skein Infinity Scarf Pattern with the code INFINITY10.


Elizabeth
Pin It

Tuesday, September 24, 2013

{Mason Jar Cozy TUTORIAL}


Hey there! Welcome back to Crochet Week at Sew Chatty! Today we're making a super cute crocheted mason jar cozy and showing you how to package it up all cute and ready to gift.


Mason Jar Cozy Pattern
Cotton Yarn {I use "I Love This Cotton" from Hobby Lobby}
Size H 5mm hook
scissors
Yarn needle
Ch 3. Join into a ring.
Round 1: Ch 3. 12 dc in ring. Join. (12 sts)
Round 2: Ch 3. 2dc in same sp, *2dc in next st; repeat from * around.
Join. (24 sts)
Round 3-11 DC in each stitch. Join (24)
Round 12-13 SC in each stitch to form the band. Join (24.)
Fasten off. Weave in ends.

 Add some extra goodies and you have the perfect little gift!
 Mug Rug tutorial by Knitty Bitties. One of these days all my edges will be straight. Practice.
 Tie up some Via's with coordinating thin fabric strips.
Brown paper bag. Some tissue. A little handmade tag. Perfect. 

***SHOP DISCOUNT***
Take 10% off my One Skein Infinity Scarf Pattern this week with the code INFINITY10. 


Elizabeth
Pin It
Related Posts Plugin for WordPress, Blogger...