Hi everyone! Erin from In Between Laundry is visiting today and sharing a really fun tutorial!
Hi! I'm Erin
from
do-able crafts, great recipes, ideas, and kid
stuff, topped off with a healthy dose of
our home renovation. We are gutting this joint, I tell you.
I'd pretty much do a back flip if you stopped by.
stuff, topped off with a healthy dose of
our home renovation. We are gutting this joint, I tell you.
I'd pretty much do a back flip if you stopped by.
* * * * * * * * * *
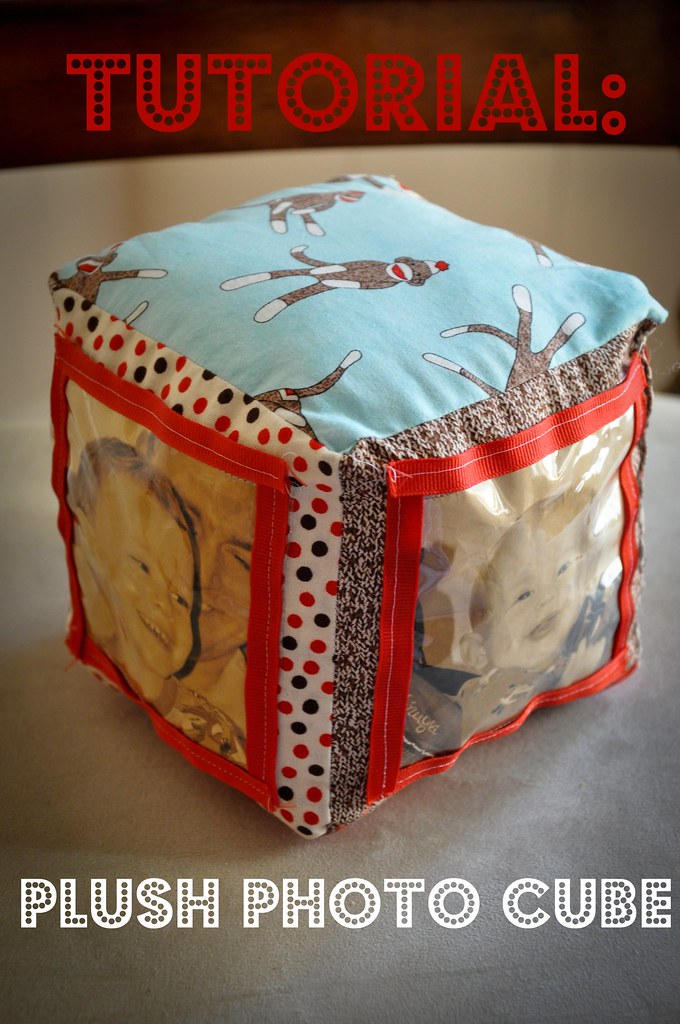
Today, I'm sharing my
Plush Photo
Cube
Cube
thatI made for my 9-month old.
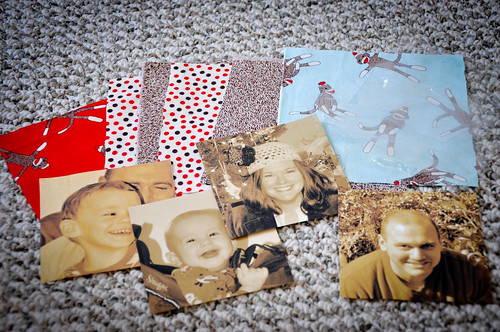
Materials:
6 squares of fabric (6" x 6" each)
4 printed photos (4" x 4" each)
4 pieces of clear vinyl (4-1/4" x 4-1/4" each)*
ribbon for outlining the pictures
poly-fill
thread for sewing machine
needle and thread for hand stitching
*TIP: I recycled the clear vinyl packaging from a set of baby sheets and it
worked great!
worked great!
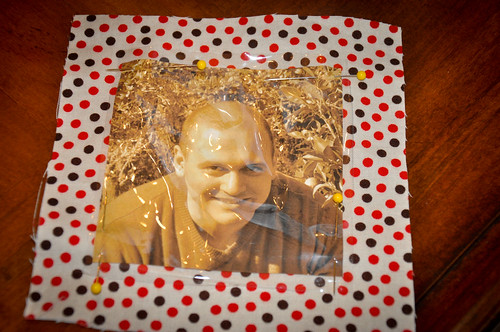
Center the photos on four of the pieces of fabric that you want to use for the
sides. Place the clear squares on top of the photos and pin in
place.
sides. Place the clear squares on top of the photos and pin in
place.
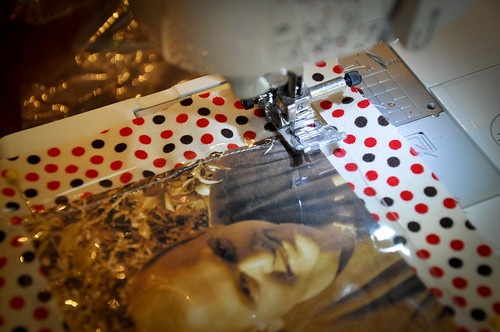
Stitch in place, closely to the edges. You may want to use a heavy-duty machine
needle.
needle.
Stitch ribbon on the edges, outlining each picture. This looks cute, but it also
keeps those sharp edges on the vinyl from poking baby.
keeps those sharp edges on the vinyl from poking baby.
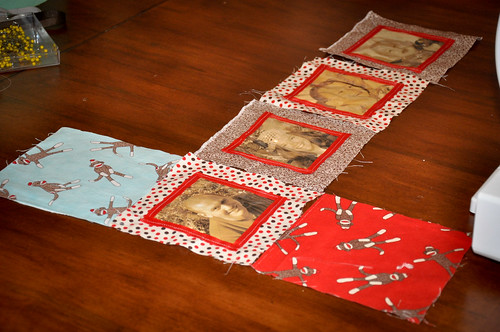
Lay your squares out in a T-shape with your photos side by side and the top and
bottom pieces above and below the left picture.
bottom pieces above and below the left picture.
Stitch everything in place, right sides together with a 1/4" seam
allowance.
allowance.
Press the seams open, being very careful not to melt the vinyl.
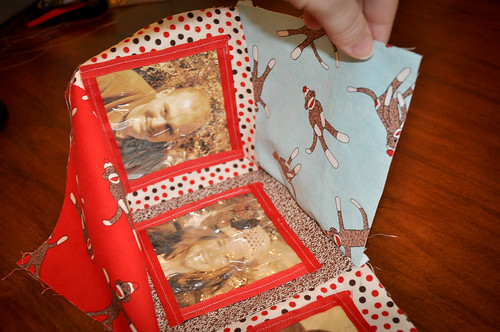
Bring the top and bottom pieces (the sock monkey fabric in my photos) to the
next photo square and stitch, right sides together. The photo cube will be
inside out at first.
next photo square and stitch, right sides together. The photo cube will be
inside out at first.
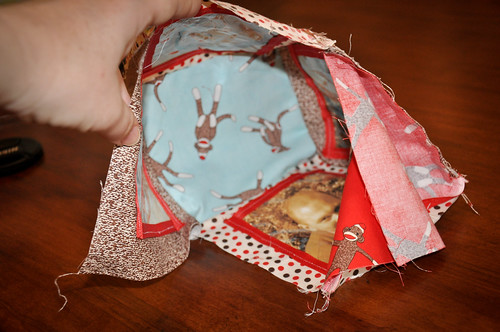
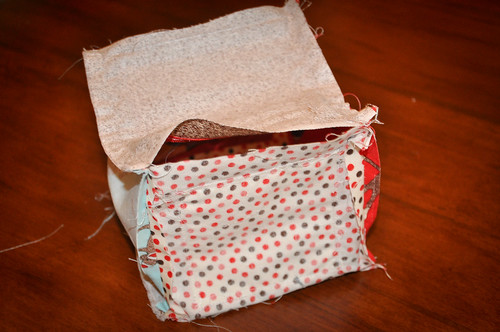
Repeat until all sides--except one--are stitched together in a cube shape.
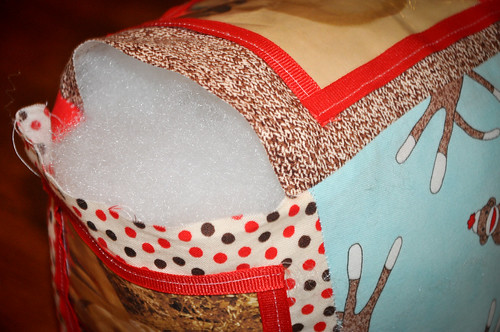
Turn right-side out and stuff with the poly-fill. Hand-stitch shut.
I think I'll make a few more for learning names of cousins, aunts and uncles who
live out of town.
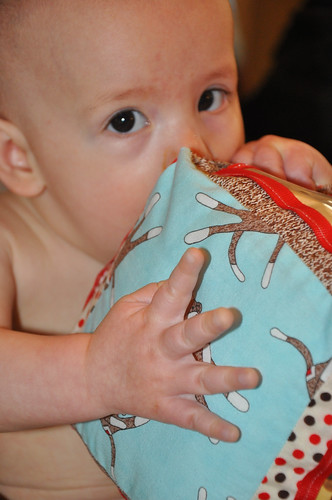
For now, my little guy thinks it tastes pretty good.
{Big hugs to Elizabeth for having me today--it's been so fun!}







Oh my, this is just adorable! I love it, this would make such a fab present, thanks for the tutorial.
ReplyDeleteVery cute! I may just have to make one!
ReplyDelete